


Exterior home renovations like vinyl siding installation can be intimidating if you’re doing it yourself. However, it’s a cost-effective way to enhance the curb appeal and durability of your home.
In this guide, we’ll provide practical tips and step-by-step instructions on how to install vinyl siding.
Understanding the Basics of Vinyl Siding
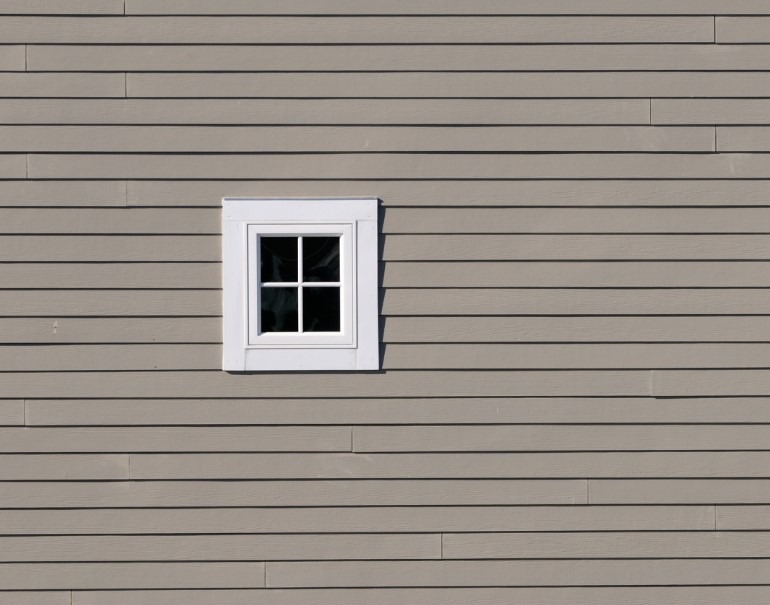
Vinyl siding is a great choice for home exteriors because of its durability, affordability, and low maintenance requirements. Vinyl comes in a variety of styles and colors, which allows homeowners to customize their home’s appearance.
Before starting the installation process, there are some basics you should be aware of such as knowing how to handle the material, the role of each component, and the importance of proper installation.
Here are some key points to remember:
- Vinyl siding expands and contracts with temperature changes. Allow for this movement during installation.
- Proper nailing and overlapping techniques are crucial for a successful installation.
- Vinyl siding should be installed on a flat, smooth surface to prevent warping and buckling.
- Always follow the manufacturer’s instructions for the best results.
With these basics in mind, you’re ready to gather your tools and start the installation process.
Tools and Materials You Will Need
Before you start your vinyl siding installation, gather all the necessary tools and materials. Having everything at hand will make the process smoother and more efficient.
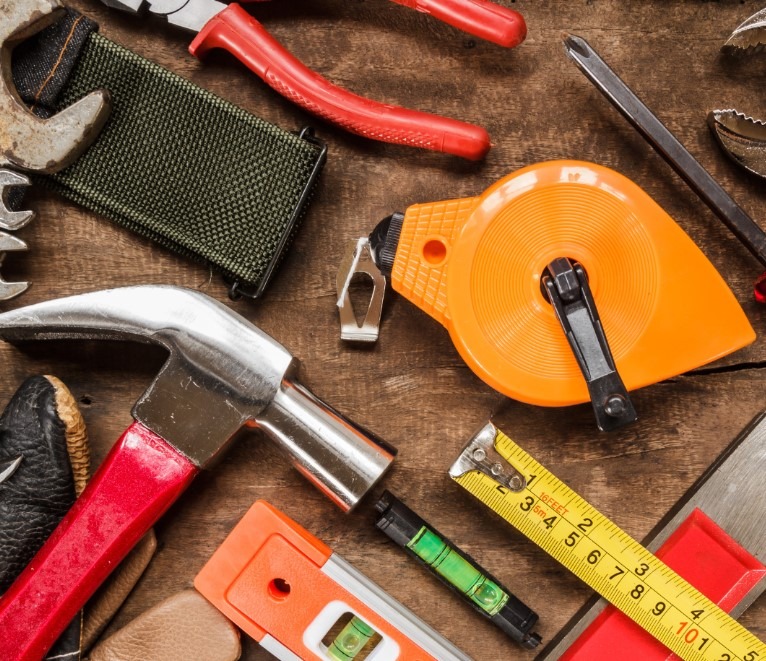
Here’s a list of what you’ll need:
- Utility knife
- Tin snips
- Hammer
- Level
- Chalk line
- Vinyl siding panels
- Starter strip
- Corner posts
- J-channels
- Nails
Using the right tools makes a big difference in the quality of your installation. Be sure that you always follow safety guidelines.
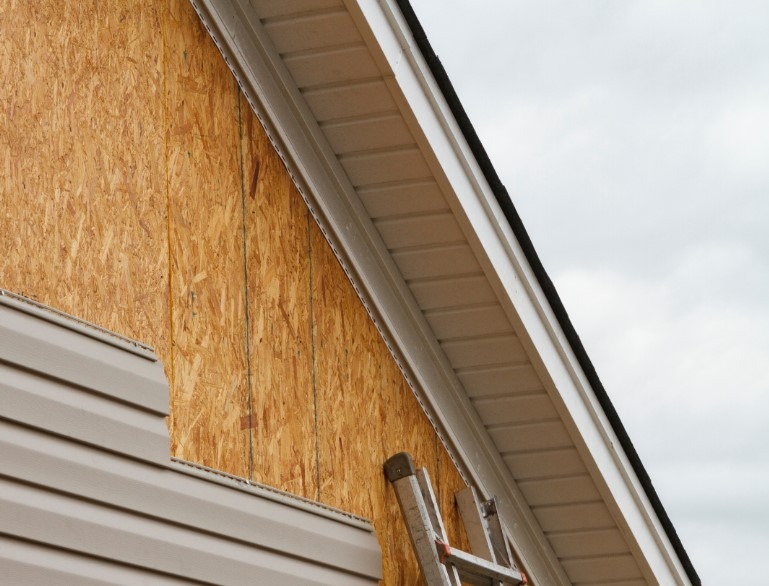
Pre-Installation: Preparing Your Workspace and Walls
Before you begin the actual installation, prepare your workspace and walls. This step ensures a smooth and successful vinyl siding installation.
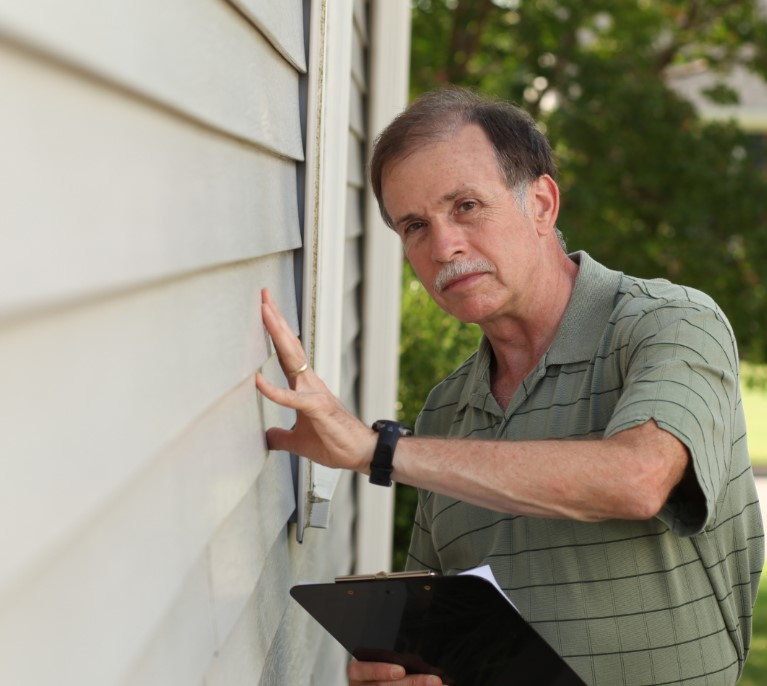
Start by inspecting your walls for any damage or signs of rot, mold, or structural issues. If you find any, address these problems before proceeding with the siding installation.
Next, ensure your walls are flat and even. Uneven walls can lead to improper installation and potential damage to the siding. Use a level to check the flatness of your walls.
Clear your workspace of any debris or obstacles to reduce the risk of accidents.
Lastly, check your local building codes and obtain any necessary permits. This step is crucial to avoid any legal issues down the line.
Step 1: Installing the Starter Strip
The first step in vinyl siding installation is setting up the starter strip. This strip serves as the base for the first row of siding panels.
Start by measuring the height at which you want to install the siding. Mark this height using a chalk line. Then, attach the starter strip along this line using nails. Ensure the strip is level and straight.
The starter strip should be installed at a sufficient height to prevent water from reaching the foundation. This step is crucial for the durability and longevity of your siding.
Step 2: Setting Up Corner Posts and J-Channels
After installing the starter strip, it’s time to set up the corner posts and J channels. These components are essential for a neat and professional-looking installation.
Start by installing the corner posts. These should be long enough to cover the entire height of the wall. Secure them with nails, but allow room for expansion and contraction.
Next, install the J channels. These are used around windows and doors to hold the ends of the siding panels. Ensure they are level and properly aligned for a seamless look.
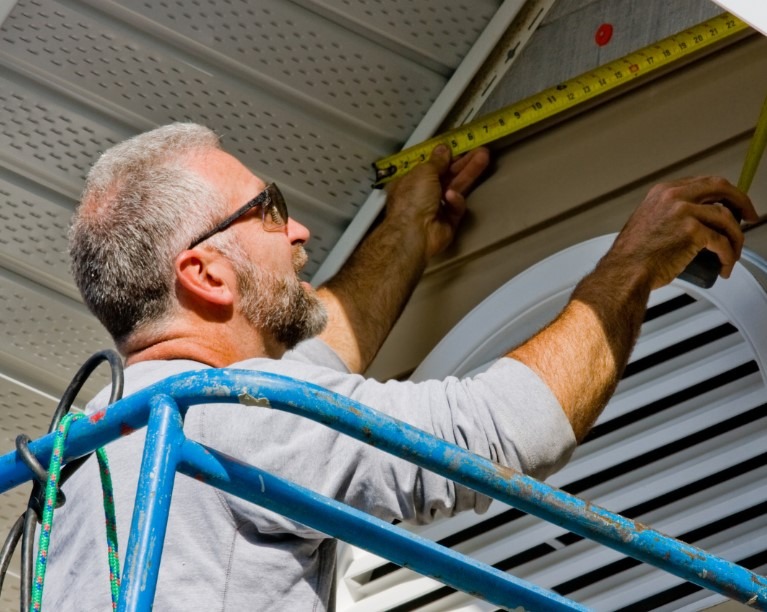
Step 3: Measuring and Cutting Vinyl Siding Panels
The next step involves measuring and cutting the vinyl siding panels. Accurate measurements are crucial for a professional finish. Use a tape measure to determine the length of the siding needed.
Cutting the vinyl siding is a straightforward process. Use tin snips or a utility knife for this task. Remember to cut the panels slightly longer than the measured length to allow for expansion.
Finally, check each panel for fit before installation. This step ensures that the panels will fit perfectly on your wall, resulting in a neat appearance.
Step 4: Attaching the Vinyl Siding Panels
Once your panels are cut to the correct size, attach them to the wall. Start from the bottom and work your way up, ensuring each panel overlaps the one below it to create a weatherproof seal.
Use a hammer to drive nails through the slots at the top of each panel. Be careful not to drive the nails in too tightly. The panels need room to expand and contract with temperature changes.
Finally, check that each panel is level before moving on to the next for a professional-looking finish.
Step 5: Installing Siding Around Windows and Doors
Installing siding around windows and doors requires precision. Start by measuring and marking the siding to fit around these areas.
When installing, ensure the siding fits snugly against the window or door frame but still make sure to allow room for expansion. Overly tight fitting can lead to warping or buckling.
Finally, use J channels around the windows and doors.
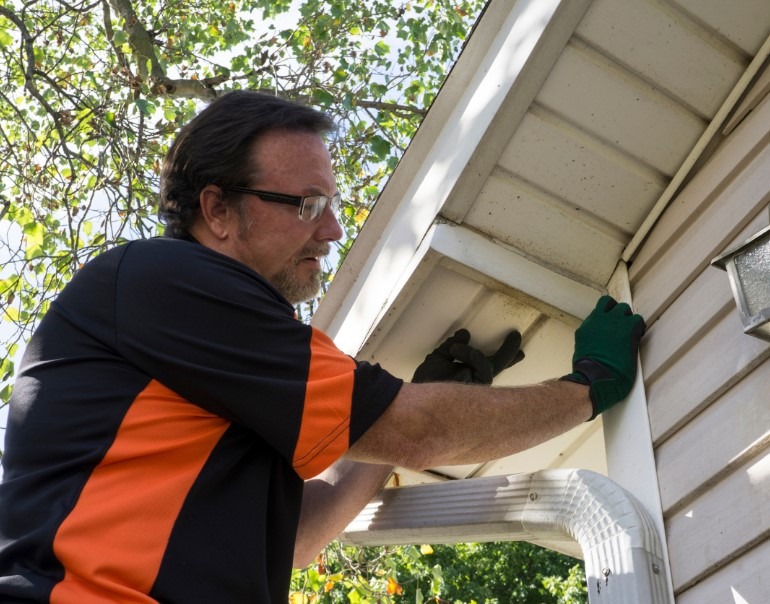
Step 6: Finishing Touches and Inspecting Your Work
Once all the siding is installed, it’s time for the finishing touches. Install the top row of siding and any necessary trim pieces. Ensure all seams and edges are secure and neat.
Conduct a thorough inspection of your work. Check for any loose panels, uneven lines, or other potential issues. Make any necessary adjustments to ensure a quality installation.
Lastly, clean up your workspace. Dispose of any waste properly and store your tools.
Maintenance and Care for Your Vinyl Siding
Maintaining your vinyl siding is crucial for its longevity. Regular cleaning with a soft brush and mild detergent can keep it looking fresh and vibrant. Always rinse thoroughly to avoid residue build-up.
Inspect your siding periodically for any signs of damage. Small issues, if caught early, can often be fixed without replacing entire panels. This can save you time and money in the long run.
Lastly, remember that vinyl siding can fade over time. To keep your home looking its best, consider a professional power wash or even a fresh coat of paint every few years.
For professional siding replacement services in Ohio, trust Perimeter Roofing of Columbus! Contact us today at (706) 641-7053.